

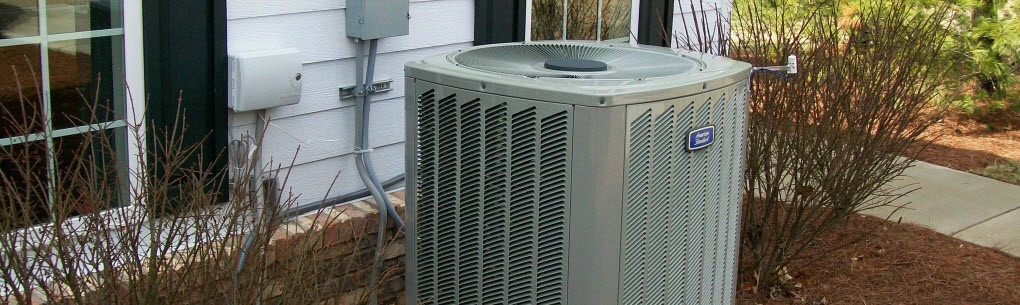
Has your air conditioning unit not been running correctly or seems to cut out at times. It may be due to your air conditioners capacitor going out. For the average homeowner most don’t know how to properly diagnose their air conditioner unit for a failing or broken capacitor. NY NJ AC Connection will share how to diagnose your air conditioner’s capacitor. However please keep in mind to proceed with caution as you will be working near some electrical components and have the risk of being shocked.
Tools Needed to Troubleshoot AC Capacitor Problems
Make sure to follow all the proper safety procedures and wear protective gloves when diagnosing the condition of the capacitor. Acquire the following tools:
1. Screw Driver with an insulated handle.
2. Insulated Gloves (both will protect you from electric shocks)
3. Get a meter with micro farads or one with resistance (OHMS)
How to Tell if Capacitor is Bad on AC Unit
With the proper tools for safety, diagnose following this step by step process to see if your air conditioner’s capacitor is failing or broken.
Step 1. There is a shut off switch near the unit. Make sure to turn off the power that reads 240 volts.
Step 2. Go inside your home and set your thermostat to cool and drop the temperature way down to activate the unit. Go back outside and see if the unit is running. You may hear humming noises. The fan however, should not be moving since you turned off the 240 volt power.
Step 3. If the unit is turned off and humming, go back inside your home and turn your thermostat off. This should send 24 volts into you air conditioning unit which should make the humming noise stop. Do not proceed if the humming noise continues. Call a professional HVAC technician to inspect your unit.
Step 4. Once the humming noises stop then remove the panel that covers the electrical components. Make sure to have your gloves on!
Step 5. With your insulated screw driver, touch both the “C” or common and “HERM” or compressor tabs. This should discharge any stored electrical charges within the capacitor.
Step 6. Once again with your insulated screw driver, touch the “FAN” and the “C” or common tabs on top of the capacitor to discharge the “FAN” side of the capacitor.
Note: The wires to each connection are also color-coated. The brown wire is the “FAN” and the red wire is the “C” or common. The other side of the “HERM” wire is yellow and the “C” common wire on the “HERM” side is purple.
Step 7. After you discharge both side of the capacitor, remove all the wires.
Step 8. With your meter you will now check to see if your capacitor is good. On the capacitor there should be a number of volts that should be reached when activated by your meter. If the voltage never reaches the proper requirements then the capacitor needs replacing. Test each side of the capacitor with your meter and see the results.
Air Conditioner Troubleshooting, Emergency Repairs & More in Manhattan, NY
If your capacitor appears to be good put it back in place and rewire and put the cover panel back on. If your capacitor needs replacing, you may want to consult or hire a professional HVAC technician. It is strongly recommended to always leave diagnosis to the professionals. If you believe your capacitor is going out NY NJ AC Connection can help inspect and repair your unit regardless of the failures cause. Don’t be without A/C this summer. Contact NY NJ AC Connection today.